How to Get the Acrylic and Mica Effects on Windows
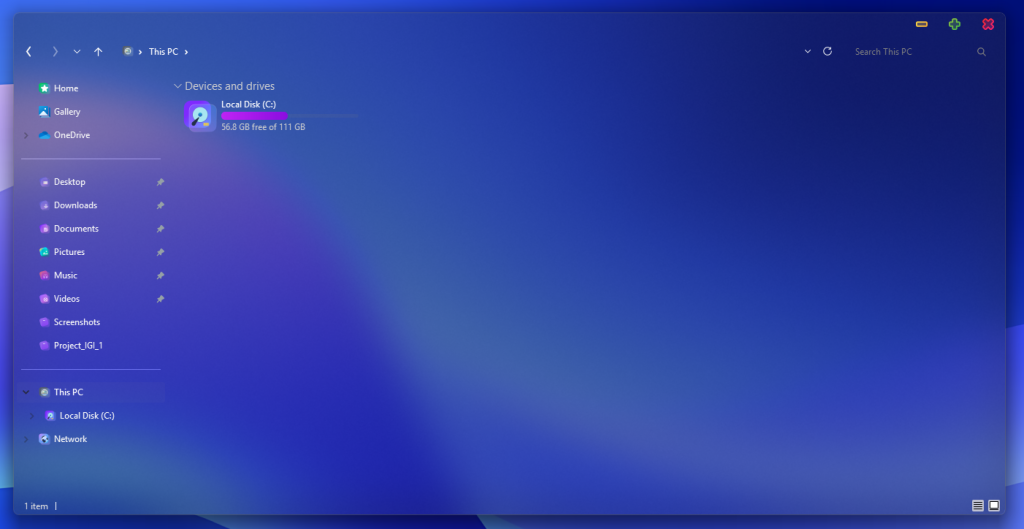
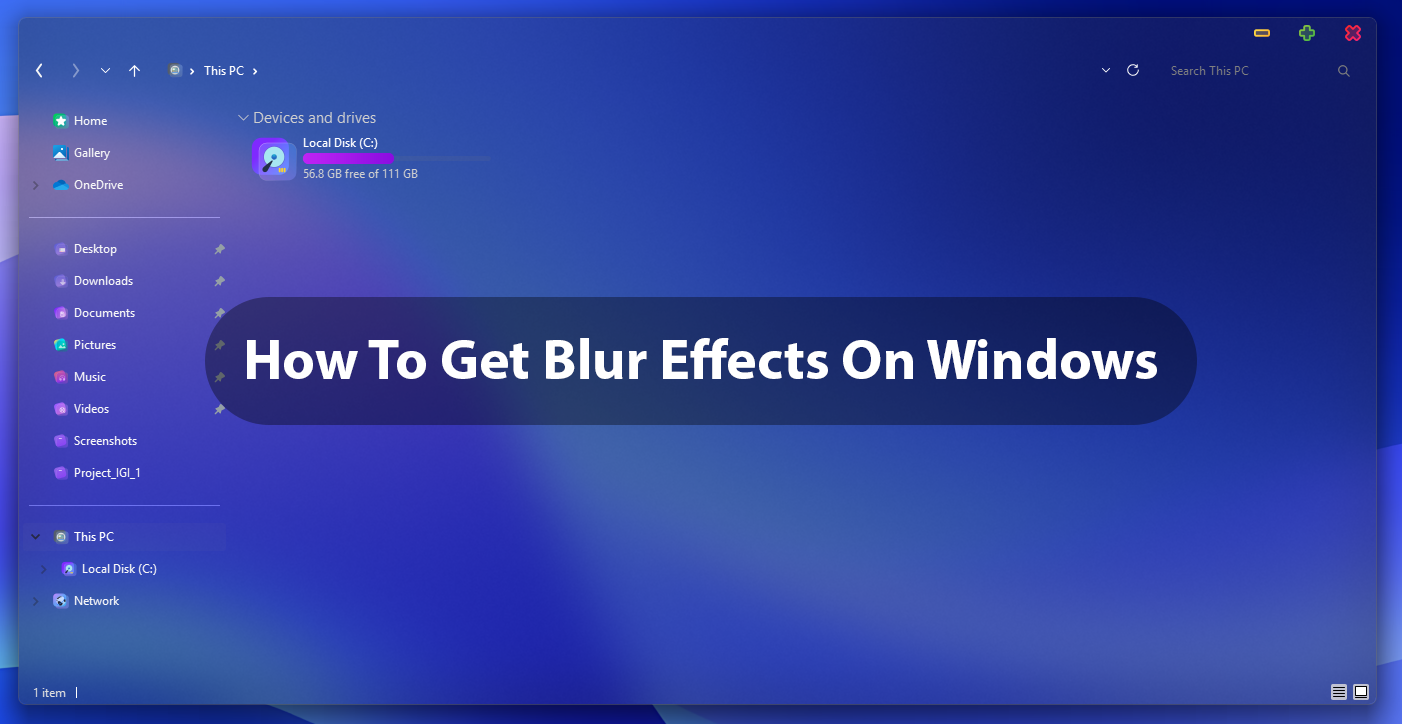
ExplorerBlurMica is a tool that enhances Windows File Explorer by adding visual effects like blur, acrylic, and mica. These effects are compatible with both Windows 10 and Windows 11. Here’s how to install and configure ExplorerBlurMica:
Installation Steps:
Download the Latest Release:
Visit the ExplorerBlurMica Releases page on GitHub
Download the latest version of the Release_x64.zip file.
Extract the Files:
Use a tool like 7-Zip to extract the contents of the downloaded ZIP file.
It’s recommended to extract the files to a stable location, such as C:\Program Files\ExplorerBlurMica.
Register the DLL:
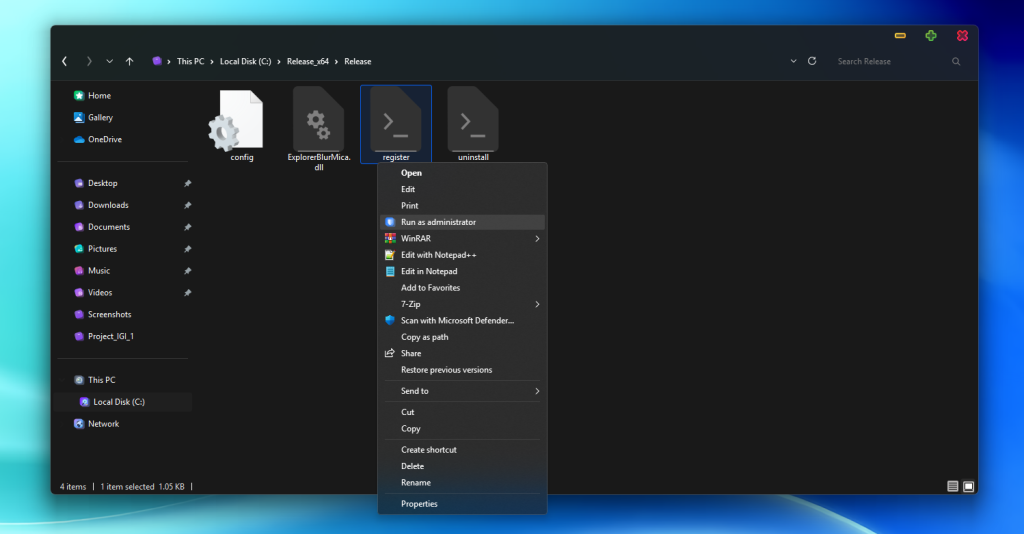
Navigate to the extracted folder and locate the register.cmd file.
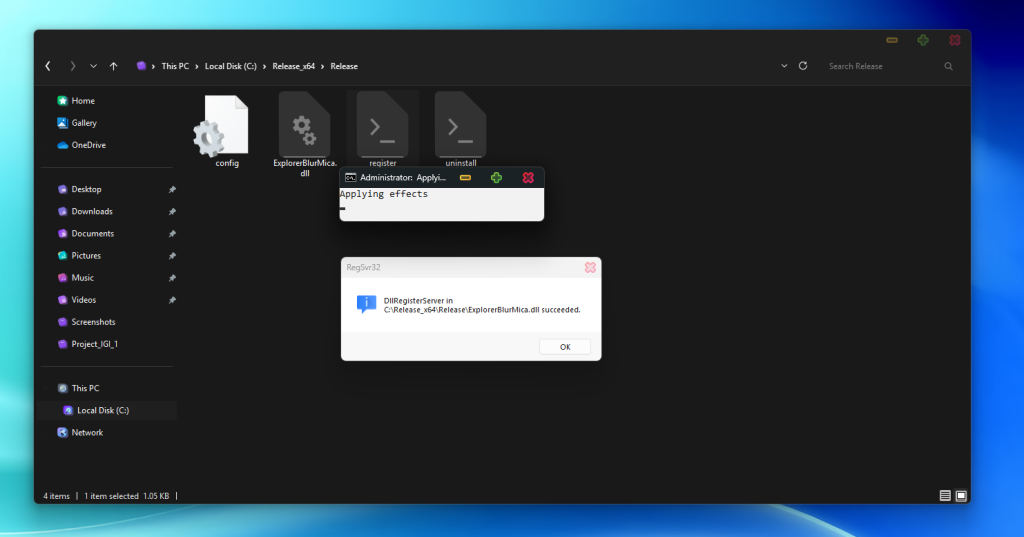
Right-click on register.cmd and select “Run as administrator.” This action will register the ExplorerBlurMica.dll with your system.
Uninstallation Steps:
Unregister the DLL:
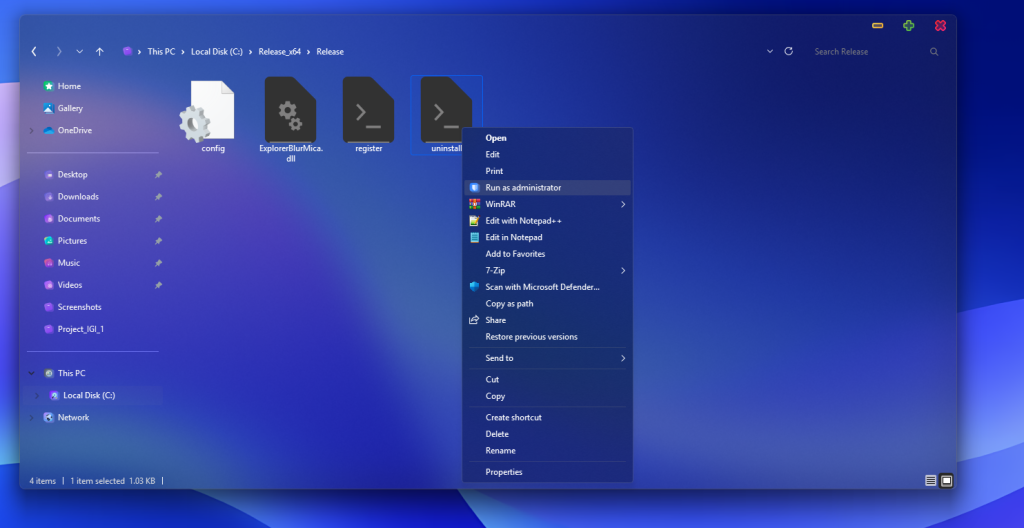
In the ExplorerBlurMica directory, locate the uninstall.cmd file.
Right-click on uninstall.cmd and select “Run as administrator.” This will unregister the ExplorerBlurMica.dll from your system.
After unregistering, you can safely delete the ExplorerBlurMica folder and its contents.
Configuration Options:
ExplorerBlurMica offers various customization options through the config.ini file located in the extracted folder. You can adjust settings such as effect type, address bar transparency, and scrollbar background. For detailed configuration instructions, refer to the ExplorerBlurMica GitHub page.
Post Views: 8
Share your love

